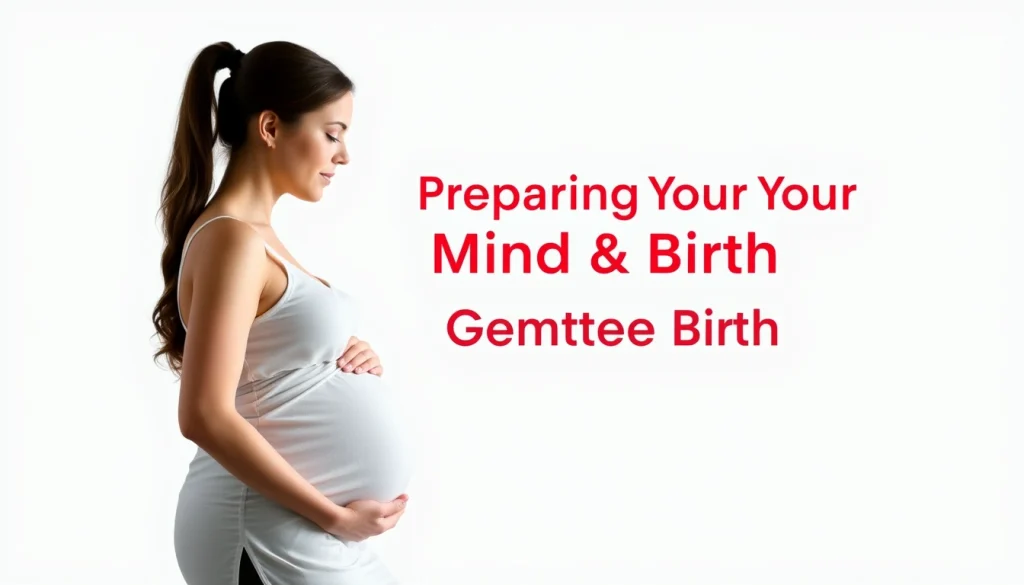
Preparing Your Mind & Body for Gentle Birth (3rd Trimester) July 10, 2026 No article HTML was provided in your message. Please paste the full HTML of the article you’d like me to optimize, and I’ll apply… Continue Reading
Natural Pain Relief for Labour Without Medication: 2026 Evidence Guide July 10, 2026 Natural pain relief for labour without medication — 5 evidence-based techniques, prep timelines, and red flags. Cochrane-reviewed methods compared for 2026. Plan your approach today. Continue Reading
Natural Labour Pain Relief Techniques: Evidence-Based Methods Without Medication July 10, 2026 Explore evidence-based natural pain relief for labour without medication. Cochrane-backed techniques like water immersion and continuous support to manage labour pain effectively. Continue Reading
Hypnobirthing: The Complete Practice Guide July 4, 2026 Table of Contents Toggle Hypnobirthing: The Complete Practice Guide with Evidence-Based Insights 2026 Who This Applies To — and Who Should See a Professional… Continue Reading
Postpartum Mental Health Natural June 6, 2026 It is possible to experience a range of emotions after childbirth, from anxiety to sadness. Many new mothers face these challenges. This guide explores… Continue Reading
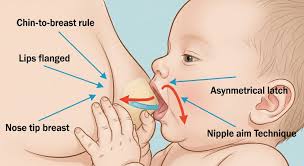
Breastfeeding First Latch Tips June 6, 2026 There’s a lot of excitement when a new baby arrives. You’ve heard about breastfeeding. It’s natural, right? But sometimes, that “natural” part feels anything… Continue Reading
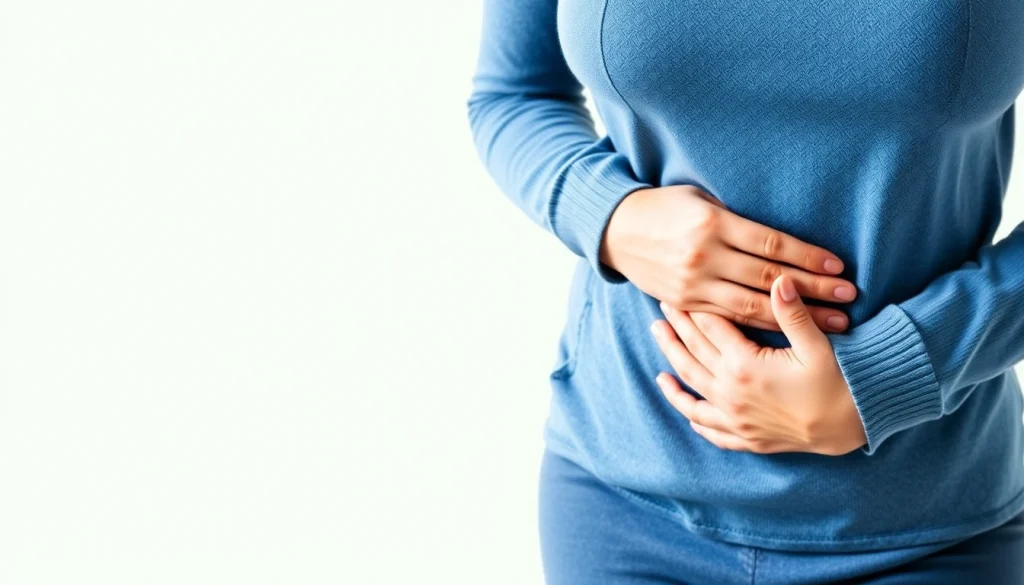
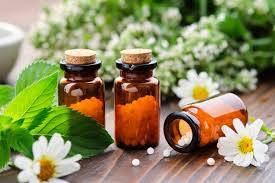
Natural Remedies For Afterpains June 6, 2026 It’s a journey many new mothers know well. The joy of bringing a new life into the world is often accompanied by a surprising… Continue Reading
Postpartum Belly Binding Guide June 6, 2026 Postpartum belly binding is a practice using wraps or binders to support the abdomen after childbirth. It aims to help the body recover, reduce… Continue Reading
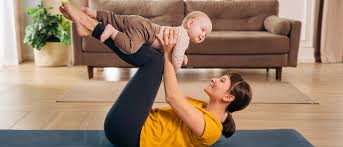
Gentle Postpartum Exercises June 6, 2026 Gentle postpartum exercises focus on safe, gradual movement to aid physical recovery after childbirth. These activities help rebuild core strength, improve flexibility, and reduce… Continue Reading
Golden Hour After Birth June 6, 2026 The golden hour after birth is the first hour of a baby’s life. It’s a crucial time for bonding, breastfeeding, and health. This period… Continue Reading