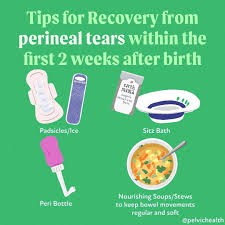
Postpartum Sitz Bath Recipe June 6, 2026 A postpartum sitz bath is a warm water soak for your perineal area. It helps clean the area, ease pain, reduce swelling, and promote… Continue Reading
Perineal Healing After Birth June 6, 2026 Perineal healing after birth involves several weeks of recovery for the tissues between the vagina and anus, which may have stretched or sustained tears…. Continue Reading
Postpartum Healing Herbs June 6, 2026 Understanding postpartum healing herbs can bring comfort and aid recovery. These natural remedies, used traditionally, can help ease common postpartum discomforts like pain, swelling,… Continue Reading
Natural Postpartum Recovery Tips June 6, 2026 Bringing a new baby home is a joyous time. It’s also a period of huge change. Your body has just done something amazing. It… Continue Reading
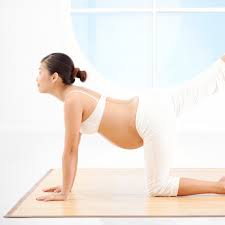
Stretches To Induce Labour Naturally June 6, 2026 It’s a common question for expectant parents as they near their due date: “Can stretching help start labor?” While there’s no single magic bullet,… Continue Reading
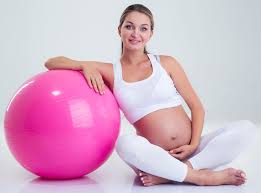
Birth Ball Third Trimester June 6, 2026 Using a birth ball during the third trimester can help ease common pregnancy discomforts like back pain and hip pain. It promotes better posture,… Continue Reading
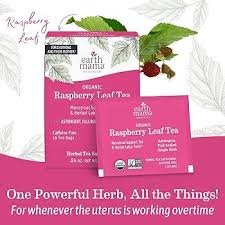
Raspberry Leaf Tea For Labour June 6, 2026 You’re getting close to your due date. Exciting times! But maybe you’re feeling a bit anxious too. One thing many expectant parents wonder about… Continue Reading
dates before labour benefits. Learn how to prepare your body and understand potential advantages for a smoother birth. –> June 6, 2026 The best time to eat dates for potential labor benefits is generally considered to be in the final weeks of pregnancy, typically after week… Continue Reading
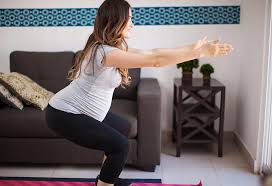
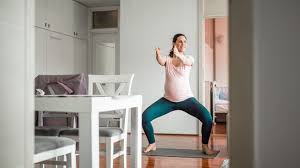
Squats For Natural Birth June 6, 2026 When you’re planning for a natural birth, you want to feel strong and ready. Many people wonder about exercises that can help. Squats are… Continue Reading
Pelvic Floor Exercises Pregnancy June 6, 2026 Pregnancy is a time of amazing change for your body. Your pelvic floor muscles work hard. They support your growing baby. They help with… Continue Reading